Logging into your new instance “in the cloud” (Windows version)

Download Putty and Puttygen from here: http://www.chiark.greenend.org.uk/~sgtatham/putty/download.html

Generate a ppk file from your pem file

(You only need to do this once!)

Open puttygen; select “Load”.
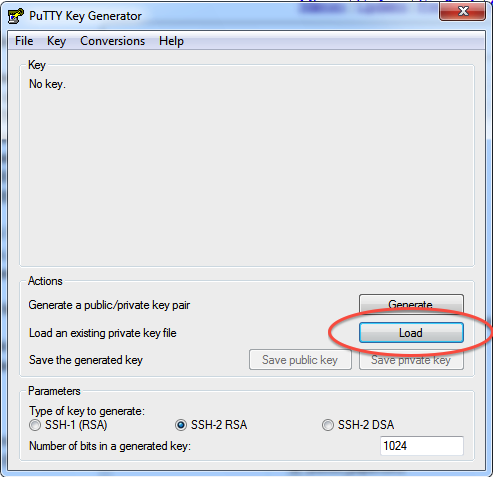
_images/win-puttygen.png

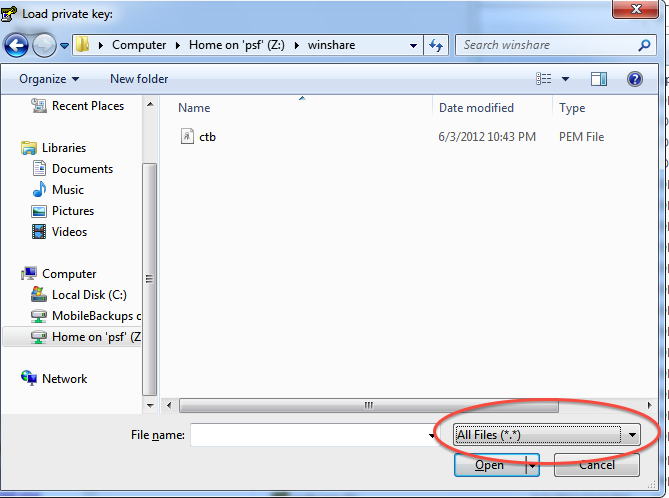
Find and load your ‘.pem’ file; it’s probably in your Downloads folder. Note, you have to select ‘All files’ on the bottom.
_images/win-puttygen-2.png

Load it.

_images/win-puttygen-3.png

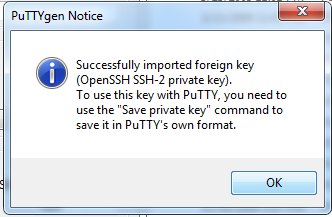
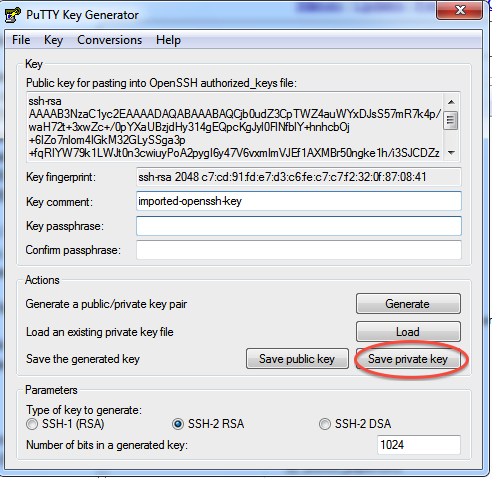
Now, “save private key”. Put it somewhere easy to find.
_images/win-puttygen-4.png

Logging into your EC2 instance with Putty

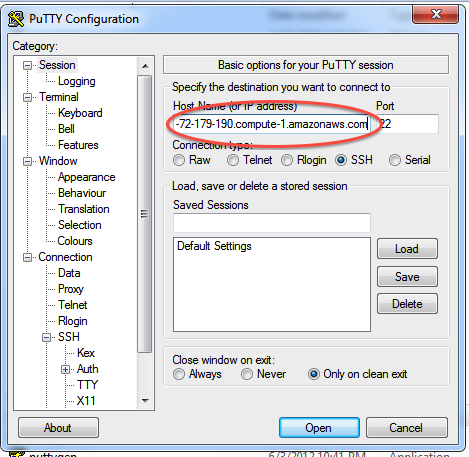
Open up putty, and enter your hostname into the Host Name box.
_images/win-putty-1.png

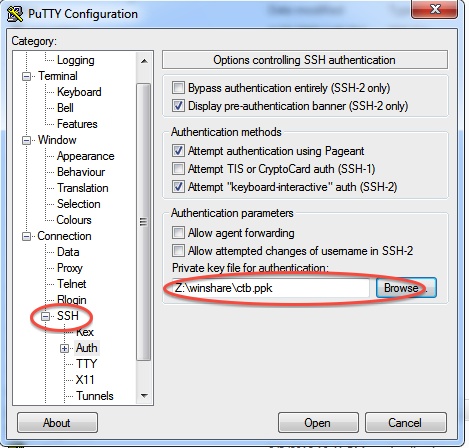
Now, go find the ‘SSH’ section and enter your ppk file (generated above by puttygen). Then select ‘Open’.
_images/win-putty-2.png

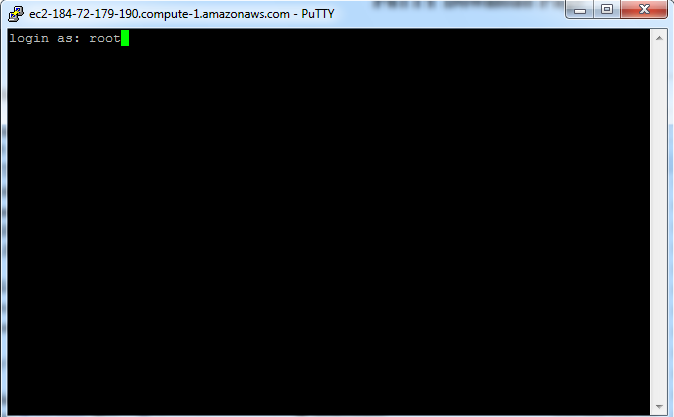
Log in as “root”.

_images/win-putty-3.png

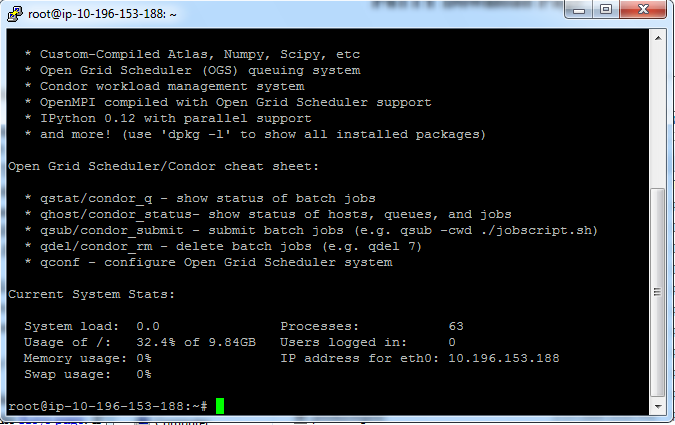
Declare victory!

_images/win-putty-4.png
comments powered by Disqus


Edit this document!

This file can be edited directly through the Web. Anyone can update and fix errors in this document with few clicks -- no downloads needed.

  1. Go to Logging into your new instance “in the cloud” (Windows version) on GitHub.
  2. Edit files using GitHub's text editor in your web browser (see the 'Edit' tab on the top right of the file)
  3. Fill in the Commit message text box at the bottom of the page describing why you made the changes. Press the Propose file change button next to it when done.
  4. Then click Send a pull request.
  5. Your changes are now queued for review under the project's Pull requests tab on GitHub!

For an introduction to the documentation format please see the reST primer.